Needle-felting Hands
Hand Proportions
I always find making hands quite fiddly, perhaps it’s the method I use but I’ll share it anyway. When I look at my hand the main area is the palm. I manipulate the end of my arm wire into a hoop. This is my palm area.
Adding the Anchor Finger
In these photographs, I’ve use black coated wire to contrast the pale wool. Hopefully, you’ll be able to see the different parts easily. In reality. white coated wire would be better. The wire I use can be off-cuts and scrap from lots of different sources. The black wire was originally the spiral wire from an old calendar.
Using the black wire, I bent it into a tall, thin hoop about the same length as the hoop’s diameter. This is placed at the top of the hoop to form the middle finger of the hand. Looking at your hand, the middle finger appears the tallest. For me, wrapping the ends of this hoop onto the green palm hoop, makes the positioning of the rest of the fingers easier.
Making all the fingers
Next, wrapping a long piece of wire around the base of the hoop work the wire into a hoop for the thumb, index finger and around either side of the middle finger. Then make a hoop for the ring finger and the little finger. I don’t really differentiate the length of these hoops as they can be altered later. Finally, if you have surplus wire, you can make a cross in the middle of the palm area but if not, just wrap the end towards the bottom of the hoop.
Wrapping the Wool
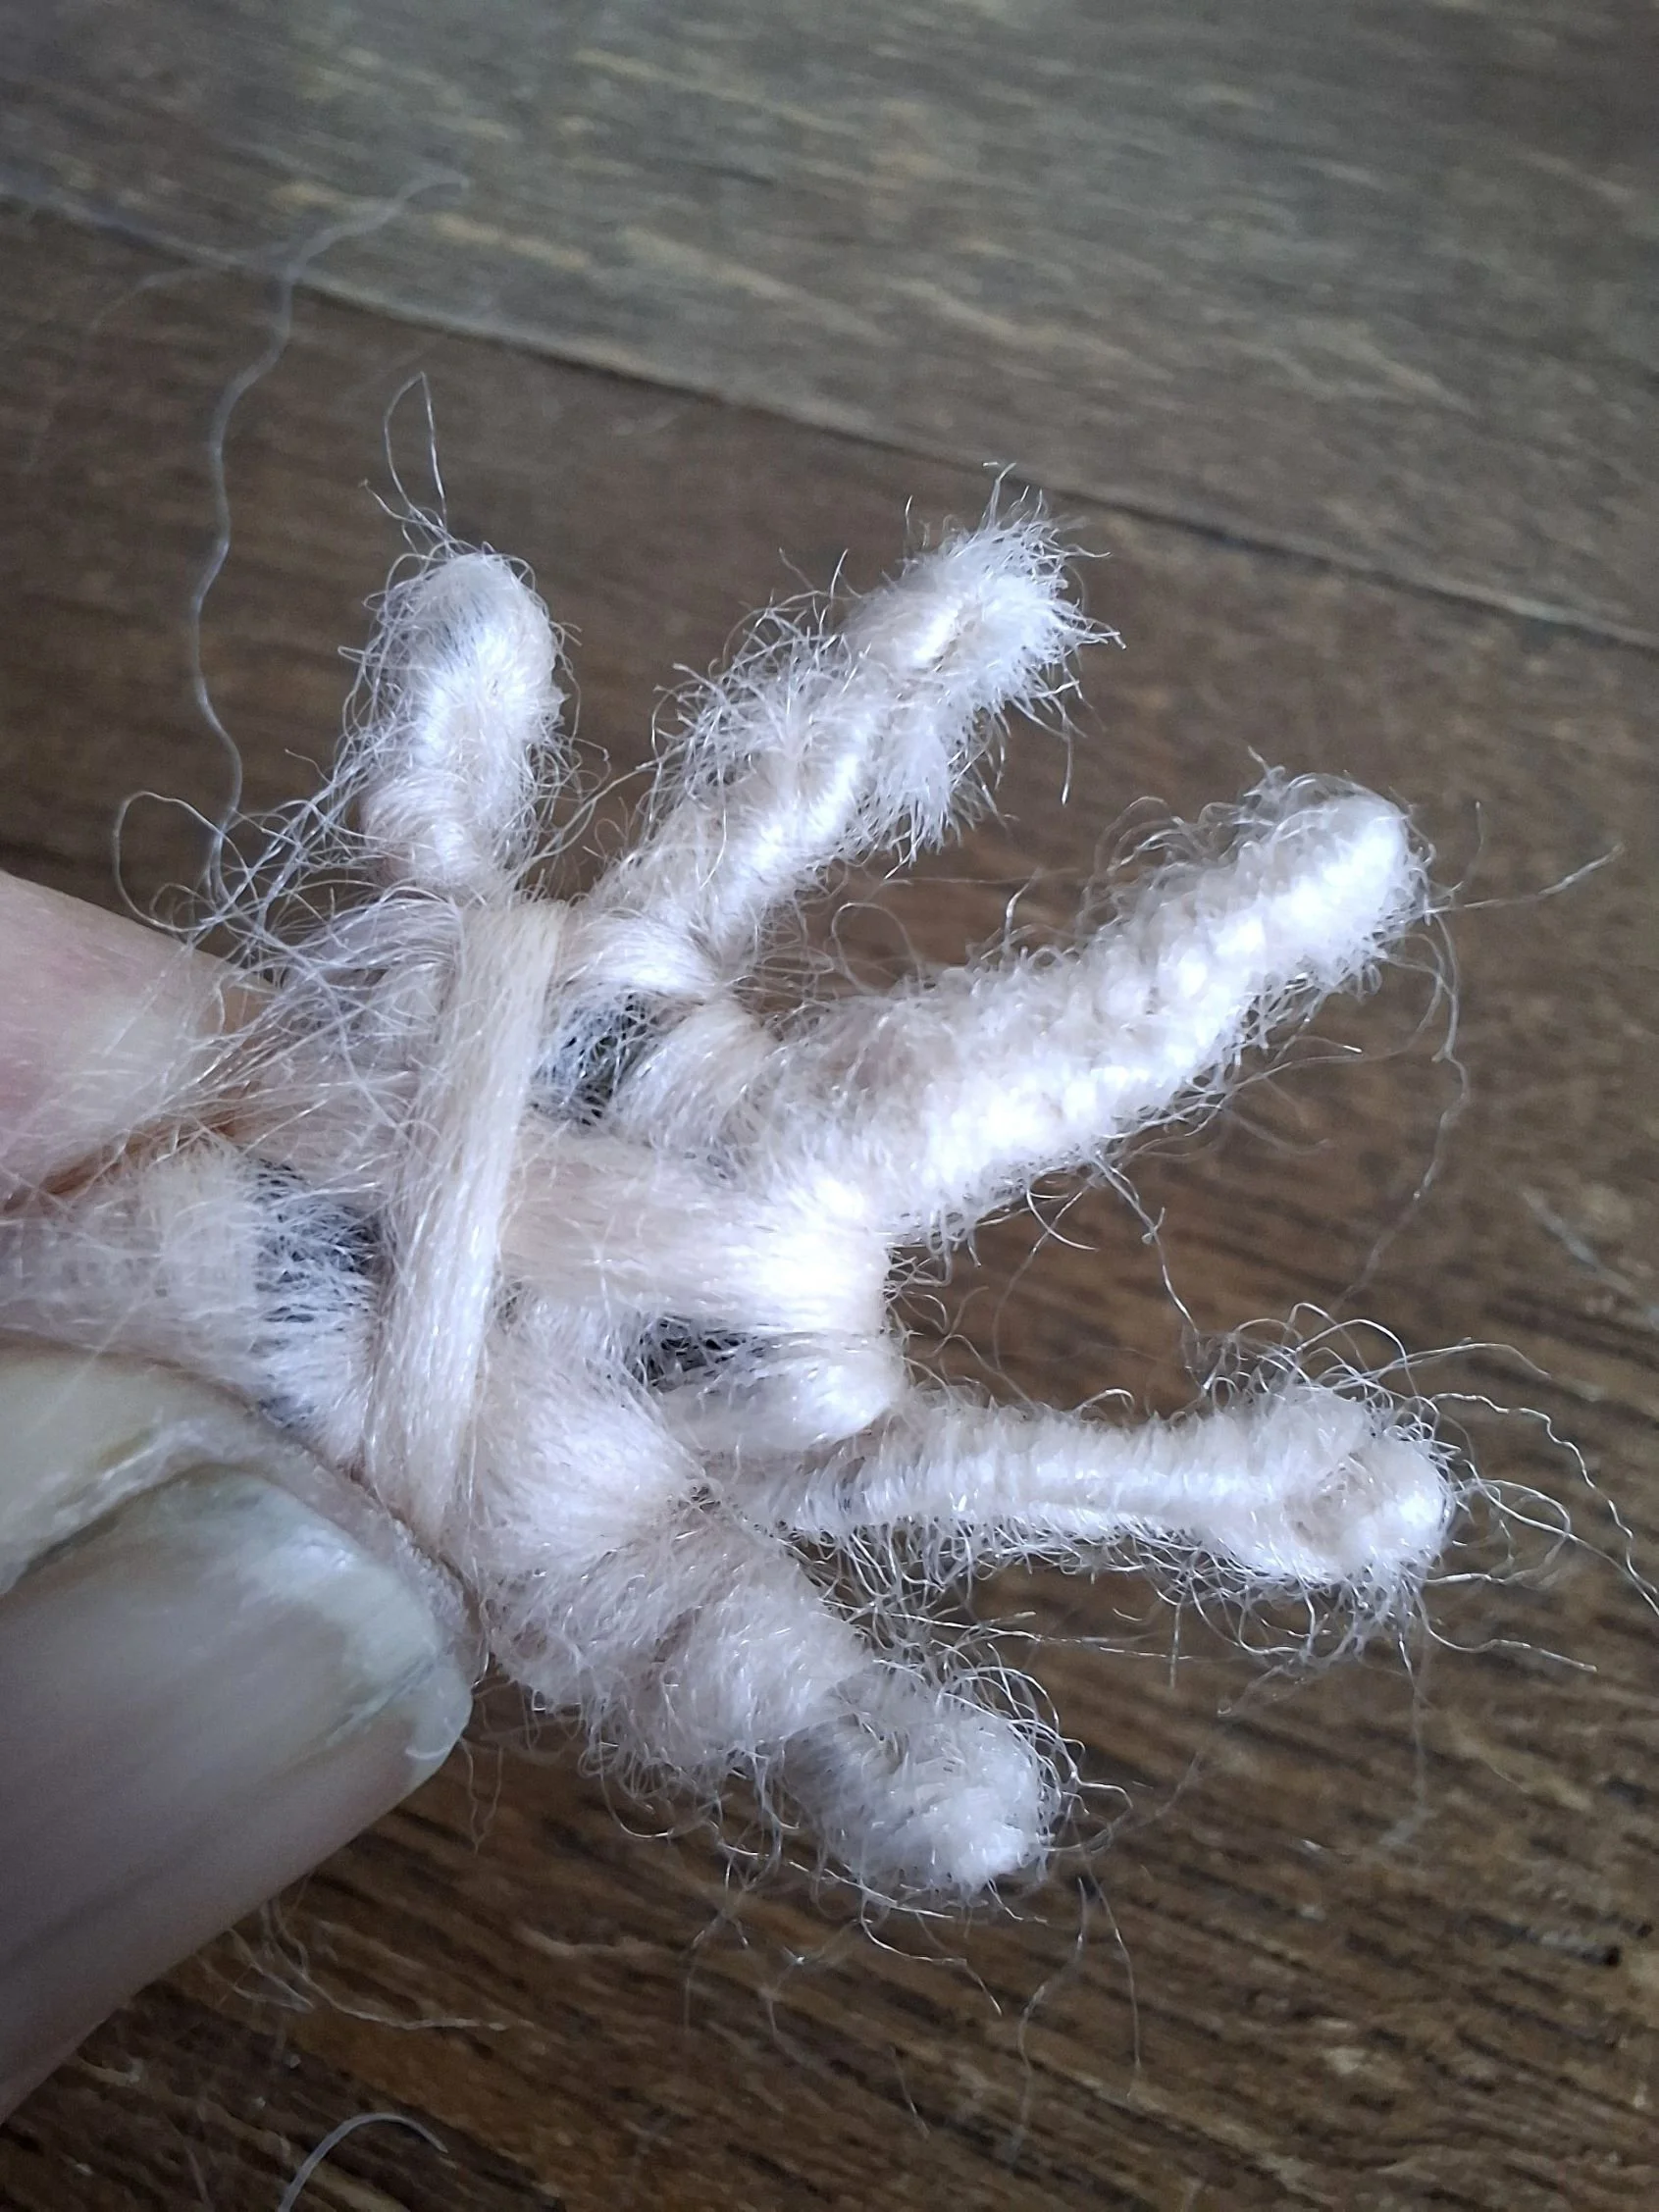
Eggshell coloured Merino wool is used in this example. Take a thin strand and tie a knot at the top of one of the finger hoops. It’s a bit fiddly but wrap the strand around one side of the wire, covering it and keeping it taut. Use something like tweezers to help feed the strand through if it helps. Once at the bottom, place the end of the strand onto the core wool at the wrist and needle-felt it in to secure it. Next, do exactly the same with the other side of the hoop.
When both sides of the hoop are covered, squeeze the hoop flat into a finger shape with pliers. You’ll notice the teeth on the pliers. I recommend using a strip of felt or thick fabric to cover these to protect the wool.
The reason why I don’t concern myself with the length of the fingers is because I use the pliers to twist the wire. This can reduce the length of the finger to the size you want and it also secures the wool to the wire. Again, cover the teeth of the pliers as they will cut the delicate wool and reveal the wire underneath.
Felting the Final Hand
Once all the fingers are complete, it’s time to cover the palm area. Take a strand of wool and hold it at the base of the hoop; the wrist. Place the loose wool end between the first two fingers on the left, go around the back and come back to the wrist. Pull the strand taut. Come to the front and take it between the next two fingers, go around the back and again come back to the wrist. Keep the wool tight. Do this so you have been through all the fingers. Pull the strand end into the palm area and secure it by needle-felting it. Use your felting needle to mix the threads in the middle of the palm. If you have put a cross in the middle be careful to work around the wire so as not to break your needle. You can take another strand of wool and hold it at the base of the hoop and wrap the strand between all the fingers again but start on the right. Secure the end of the strand into the palm again and needle-felt the wool in the palm area.
The fingers and palm are now covered. You can refine the work by needle-felting the wool. The numbers on the needles guide you to the job they are designed for. I use the 32 to do rough work but 42 to achieve finer details. Remember to work your needle parallel to the wires to avoid hitting them and breaking your needle. The fingers look strange as they are spread out so you simply need to use your pliers again to bring them into a more natural position.
Thanks for reading my March Blog. I hope it’s been helpful. Next month I’m working towards my automata.


